11 Things To Prepare For A Website or App Project

Every application or website development project we run is a partnership.
It's often hard to explain to new clients that we desperately want all our projects to be a success. Not because we're motivated to receive rave reviews, or have our clients refer us (although that's always nice!).
It's because we're motivated by doing quality work.
We take every step we can to ensure our projects are home runs and this guide is part of that equation.
The following write up is a guide to getting prepared for a website project. To make sure things happen on time and nothing is missed along the way, we’ve prepared a list of “things” we (Clean Commit) need from you, the client.
If you’ve stumbled across this article and you’re not currently a client, please feel free to use this as a guide for your own project.
1. Images and videos to be used on the site
Before we get into the design of the project, it’s important for you to send over the images and video you want included on the website.
It’s no stress if you don’t have your images or video ready to roll early in the piece. In fact, it’s rare that our clients do.
The only “gotcha” in this situation is if we design images in landscape and where you intended them to be portrait. This is easy to avoid, and we make sure to have this conversation early in the project!
If you do have your images ready to go, make sure they’re as small as they can be without losing quality.
The trick here is to make sure your images aren’t wider than 1920px and saved as jpg unless they have a transparent background.
If image dimensions are too large when they’ve saved, the file sizes end up being quite large which can make your page load slower (this is bad news!). Similarly, if you’re saving the file using the wrong format, the file size may end up being a big old whopper.
Finally, once you’ve saved your images it’s best practice to compress them. All our websites are built with image compression, but it’s a great habit to quickly drop your images into tinyjpg.com to make them as small as possible.
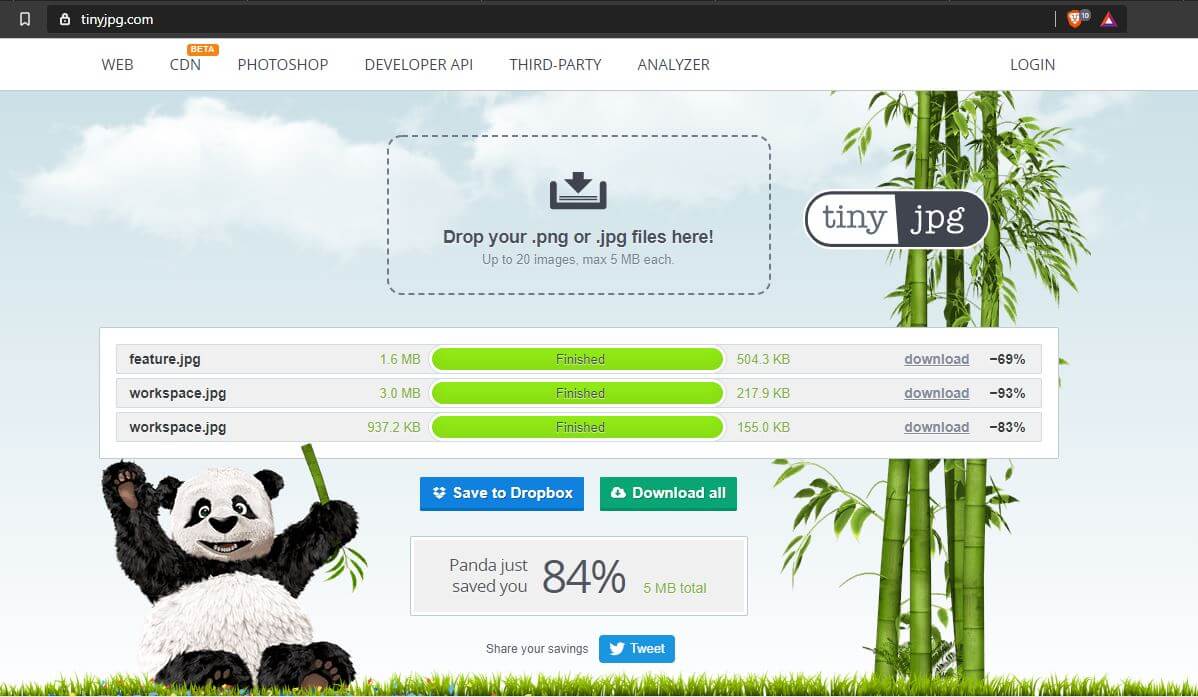
Our goal is to give your users the best experience possible, which means making your site exceptionally fast… and that’s hard if you have a bunch of big images that need to download when someone visits your site.
When you’ve got all your compressed images ready, drop them into a Google Drive or Dropbox folder and share the folder with us. Job done!
2. Website content
Typically, we’ll add lorem ipsum on all pages as a kind of placeholder if the project needs to move quickly but it’s always better to have actual content up front.
When we say “content” or “copy” we’re referring to the words that will be displayed on your website or application.
If you’re creating a website or application from scratch you will find our template super useful.
3. Privacy Policy
In some cases you don’t have to have a privacy policy but not having one limits what you’re legally allowed to do with your website or application, so it’s just a wise idea to use one.
We recommend you work with a lawyer or legally trained professional to write a privacy policy. However, this is often not realistic. In the situation you’re bootstrapping your project, this privacy policy generator does a great job.
4. Terms of use
If we’re working together to build an application then you’ll need to tell your users what they can and can’t do with your application. You don’t want users to do anything illegal or unbecoming with your platform, so it’s wise to write these conditions yourself. It’s fine to use a template like this one offered by Shopify.
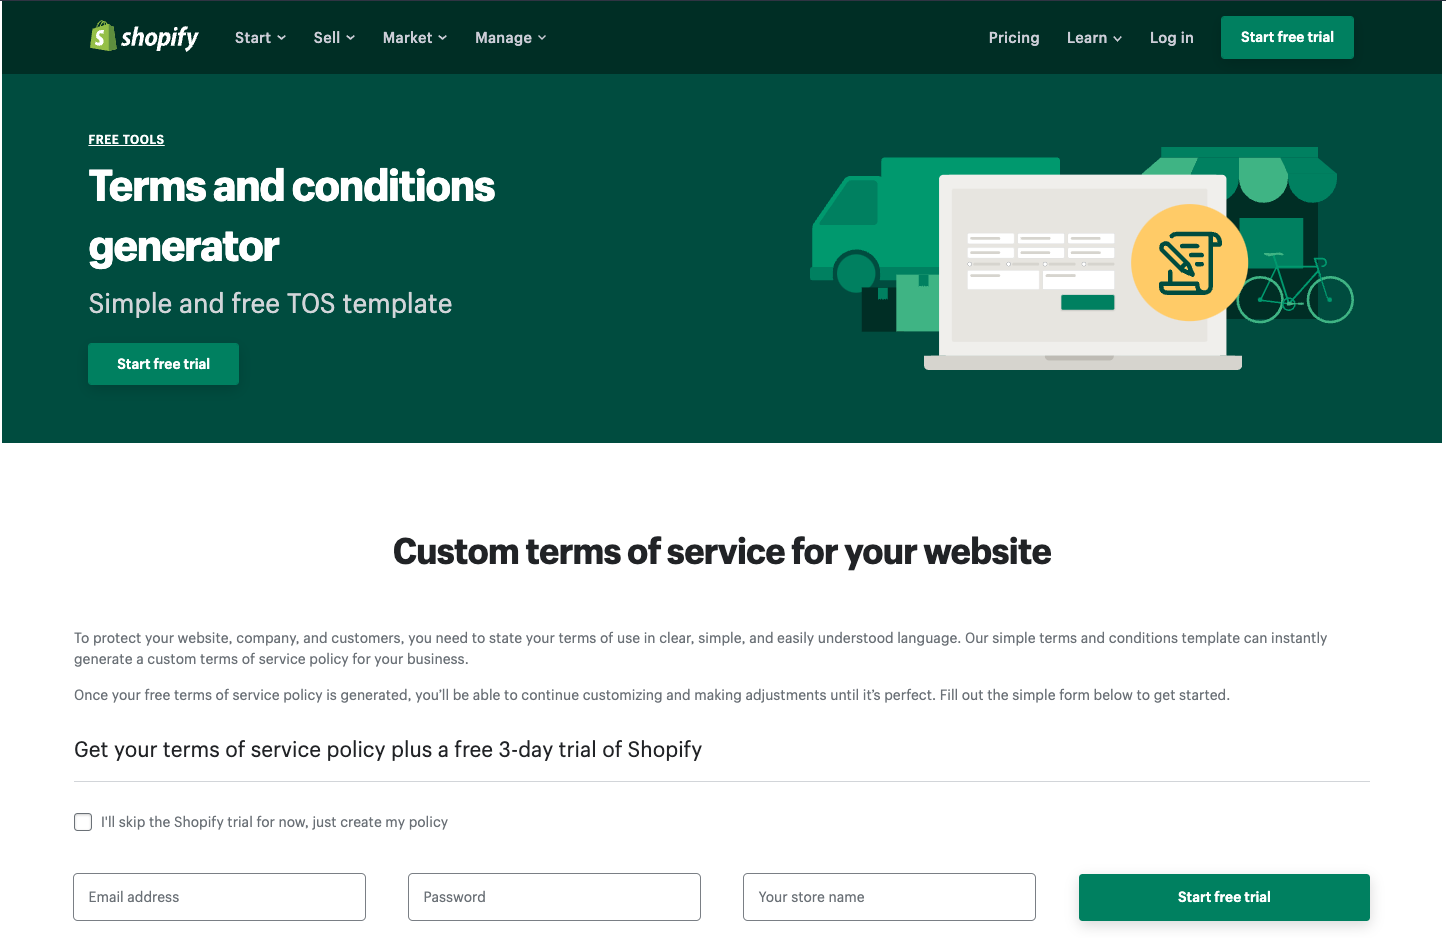
This is probably stating the obvious, but terms of use only really applies to something that gets used. Websites don’t typically fall into that category, so you don’t worry about working on this if you’re building a new website.
5. Social media links
Adding social media links to your website is standard fare these days. It gives your readers a way to interact with you in different ways, keeping you connected to them.
There are also some mild search engine optimisation benefits of adding links to your social media presences on your website.
We typically ask our clients for their Facebook, Instagram and Twitter or Linkedin accounts, but if you’re a business that is really invested in social media and you have other accounts like Pinterest, YouTube, TikTok, or Snapchat, make sure you pass the links over early in the process so we can build them into the design.

6. Google Tag Manager Installation Snippet
If you’re not familiar with Google Tag Manager (GTM) then get ready, because it’s worth knowing. GTM is the answer to having too many 3rd party scripts running concurrently on your website.
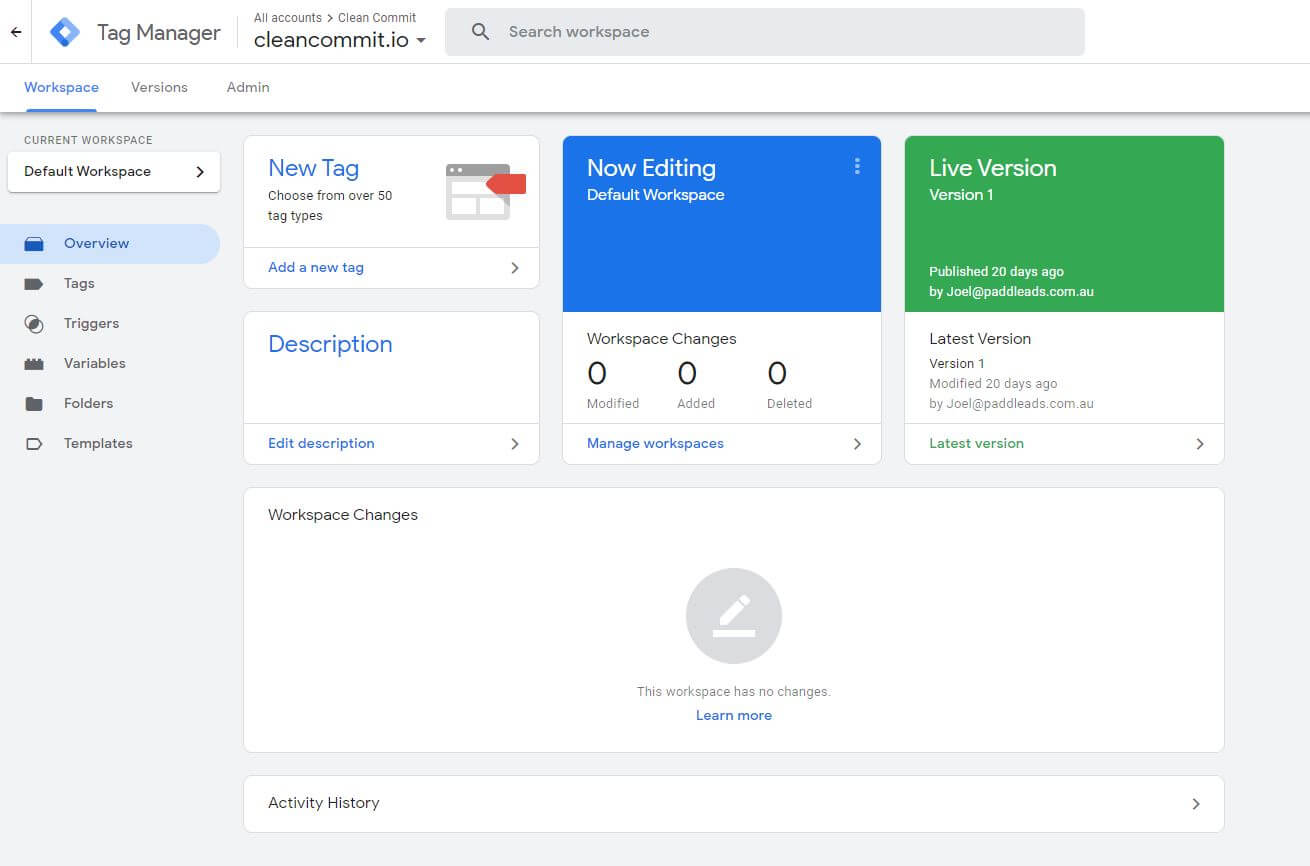
Whenever you want to “integrate” your website with an external service like Facebook ads, Google Analytics, Pinterest remarketing, or any one of the other million applications available, you typically need to take a piece of their code and stick it on your website. This gives the 3rd party application a chance to send information from your site back to their site to trigger actions.
Facebook ads are a great example. If you want to show Facebook ads to people who have visited your site, Facebook needs to know who has visited your site. So you install a small snippet of code on your site that tells Facebook what’s going on so it can do the rest of the work.
The problem with this approach is that over time you may end up with a lot of additional code on your site which can slow it down and cause other unintended issues.
This is where GTM comes in handy. It’s a single script that gets installed on your sites. Every other script is managed through the simple and intuitive GTM interface. So once the base script is installed you don’t need development help to manage your “tags” going forward!
To get started with GTM, head over to their sign up page and go through all the steps to create an account. During the process you’ll be presented with a script to install GTM on your site. Send that over to us and we’ll do the rest.
7. Customer Relationship Management or Emailing Service Provider forms
If your website is aiming to get readers or potential customers to give you their email addresses, you’ll need somewhere to store them.
This is the role of Customer Relationship Management (CRM) and Email Service Provider (ESP) platforms. Some common CRMs are MailChimp, ActiveCampaign, ConvertKit and Keap (formerly Infusionsoft).
If you’re planning on using one of these platforms to manage your “email list” then we can help. We typically design opt-in forms into the website design and then connect those forms up to your CRM. To make this happen we usually just need the HTML code that is used to embed your opt-in form on a website. Sometimes, however, we’ll need access to your system to retrieve API details.
8. Stripe and PayPal permissions
To collect money from users for goods or services your website will need help from a “payment gateway”. Stripe and PayPal really own the space here. These services charge you a transaction fee for user of their payment processing power. All this means is that they’ll facilitate the payment from your customer and send you the money, but they’ll take a small cut.
Connecting Stripe and PayPal requires us to integrate your website and these services. To make this happen, you’ll need to have an established account and invite us as new users (with restricted permissions) so we can connect all the right things.
The process here is different for both platforms. You can find a guide on how to do this for Stripe on their website, and over here for PayPal.
If your website isn’t selling anything, you can skip this step.
9. Logo
If your business already has a logo, that’s great! You can send it straight over to us and we’ll work it into the design.
The ideal format for a logo is .svg. This is a vector format and allows images to be sized up or down without losing quality. If you have this file format laying around, we can also work with .png.
10. Branding guidelines
It’s not uncommon for our clients to have existing style or branding guides that define a colour pallet, fonts and standard elements. These documents are often created during the logo design process.
If you have one of these, email it over to us. If not, no stress. We’ll work together to create one during the design process.
11. Domain credentials
Domain credentials essentially means the user name and password you used to log into the website where you purchased your domain.
Having these details early in the process allows us to set up a testing environment with your domain name. This isn’t super necessary but it does make for a nice touch.
We need these details to make your website live, so they are important to have!
Is that it?
There are other details we need along the way, but they are often contextual to the project such as reviewing a feature, checking the design to see that you’re happy with it’s look and feel, or showing us how to replicate a bug.
Besides that, this list is a great starting point and if you’re able to round up all the details then we’re on the right track to a successful project!
